Settings
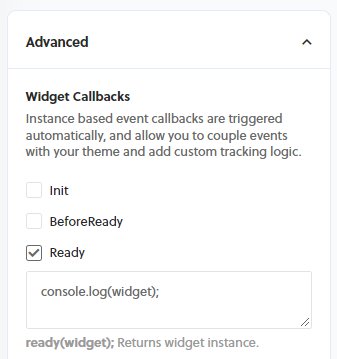
Widget settings can be configured via the user interface on all widget editor pages. Additional logic can be added to dynamically change widget settings in the Advanced options of the widget editor or via widget event listeners. In the Advanced settings you are given callbacks for the lifecycle of the widget. (i.e. Init, Ready, Add, ProductsChange, ect.) where you are typically give the instance of that widget and sometimes the products that it is displaying.
Here we look over most of the settings and where they live within the Rebuy object.
All the settings below are as if there is a reference to a specific widget such as the snippet below. Or, if using the Advanced callbacks and the widget instance is passed into the callback such as the image below.
Widget instanceconst widget = window.Rebuy.widgets.find((w) => w.id === "1234");
General
In the general setting you can define what type of product should be returned (onetime, subscription or both) as well as action redirects.
Redirectswidget.data.settings.close_redirect;
widget.data.settings.decline_redirect;
widget.data.settings.redirect;
widget.data.settings.remove_redirect;
widget.data.settings.show_continue_button;
Recommended Products
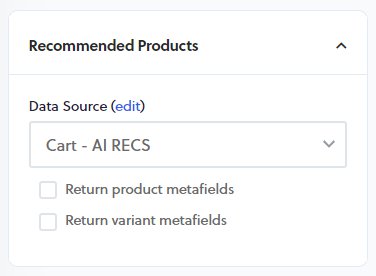
This is where you can select the data source (rules as to why certain products are displayed according to input criteria) that will be connected to this widget. You also have access to the endpoint information returned from the API request if you need to add additional logic according to specific rules. You can also return product metafields and variant metafields. These will be returned with the product object and can be accessed in a custom template, event callbacks or event listeners.
Data Sourcewidget.data.metadata;
Metafieldswidget.data.products[index_of_product].metafields;
widget.data.products[index_of_product].variants[index_of_variant].metafields;
Discount
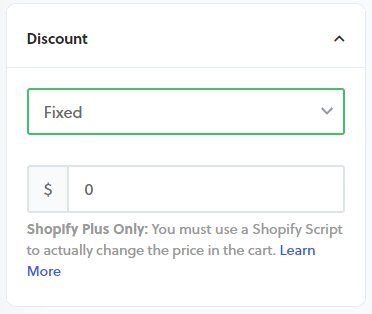
Discounts are a visual only tool. This will need to be paired with a Shopify script to discount the products on the backend. These discounts can also be set on the data source for specific products according to specific rule matches.
Discountwidget.data.settings.discount;
Timer
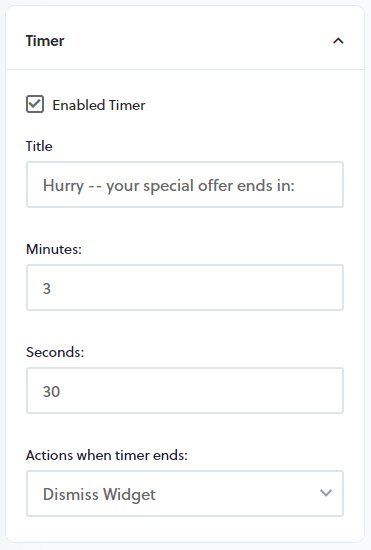
A timer can be set to create a sense of urgency for customers to make sure they do not miss out on a special offer. Pairing this with the discount setting and the Limit Number of Views setting under Layout.
Timerwidget.data.settings.timer;
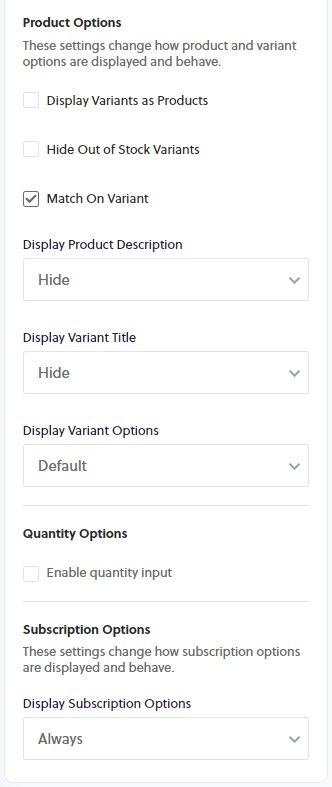
Layout
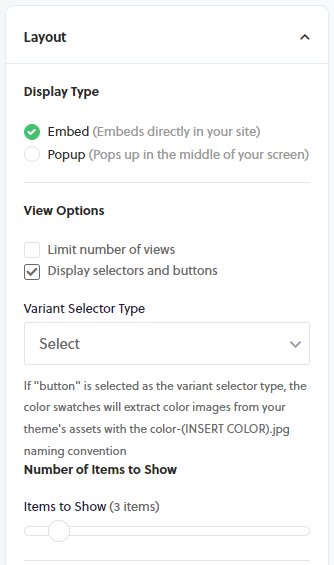
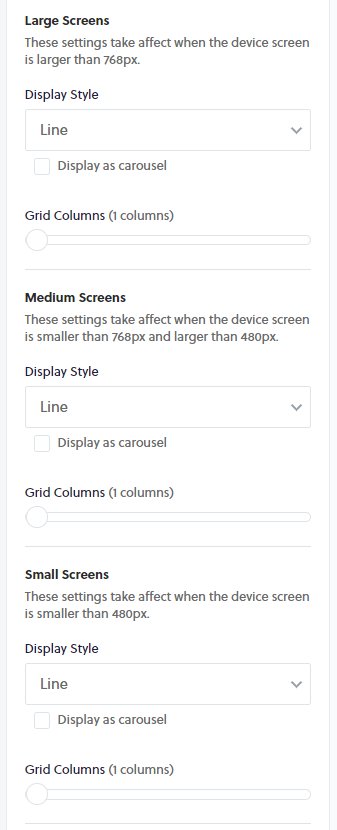
Layoutwidget.data.settings.display_type;
widget.data.settings.layout;
widget.data.settings.product_options;
widget.data.settings.quantity_inputs;
Placement
The placement selectors use a CSS syntax to attach to an element. This will attach to the first instance of that element so it is best find an element that has a very specific class of id.
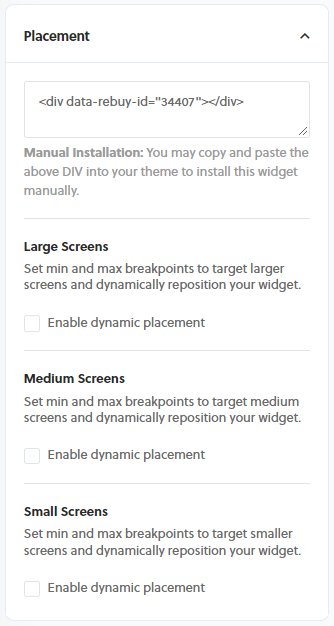
Placementwidget.data.settings.placement;
Images
Image height and width settings will add fixed height or width to the parent anchor element and dictate the size of all images.

Imageswidget.data.settings.images;
Language
Language settings will vary depending on the widget type.
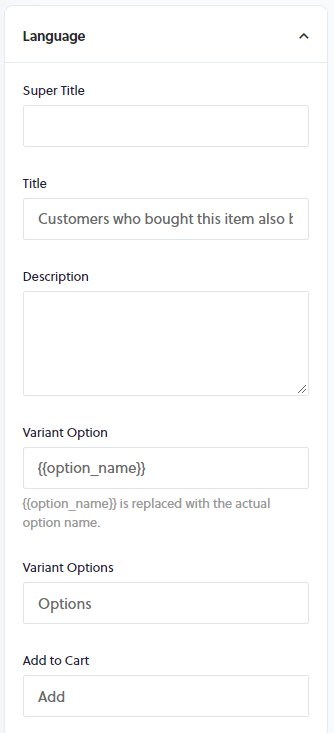
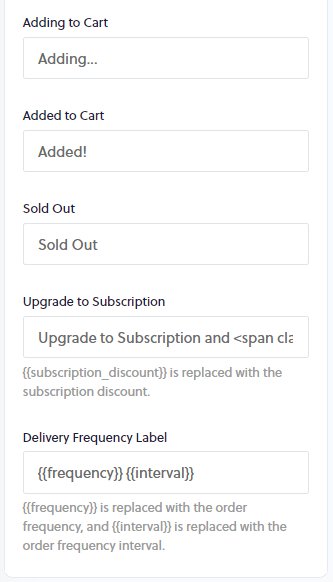
Languagewidget.data.settings.language;
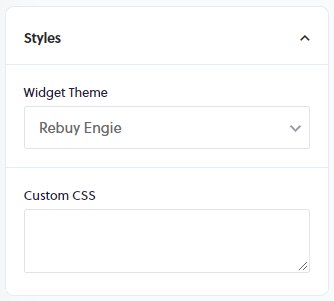
Styles
The Custom CSS text area allows you to add CSS as needed. This loads in a stylesheet when the widget loads and so make sure to use specific CSS selectors so that the CSS is not applied to other unintended elements.
Specify Selectors
This loads a stylesheet to the page along with the widget. If you are not specific with the selectors than other elements on the page may be affected. Also, make sure to use valid CSS or else this will error.
#rebuy-widget-12345 .super-title {
color: "#000";
font-size: 20px;
letter-spacing: 2px;
}
Integrations
Enabling these integrations is a two part step. First, is to navigate to the Integrations tab from the left hand menu. Once this has been done then you will need to select that integration on each widget that you would like to show product reviews for.

Integrationswidget.data.settings.integrations;
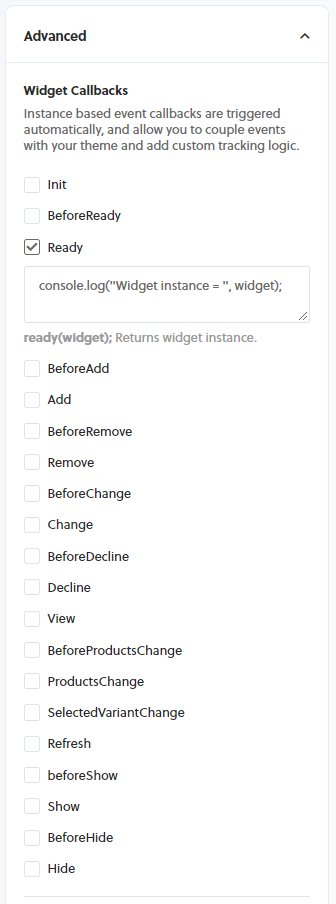
Advanced
In the advanced options you are given access to the widget instance throughout the widget lifecycle. Some of the callbacks also pass in the products array or item added to the cart. This can be extremely powerful when needing to add custom logic and change widget settings on the fly.
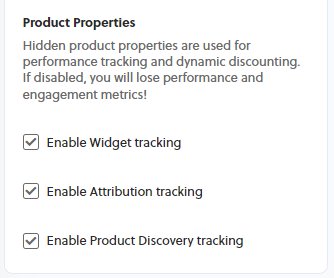
Widget tracking will add product properties to the product object. We use these properties in order to track sales contributed by these widgets, auto remove items for Gift With Purchase type widgets along with other subtle functionality of the widgets.
You can access all of the widget settings and information directly from the widget instance that is passed into the callback.
Settingswidget.data.settings;
Use Case
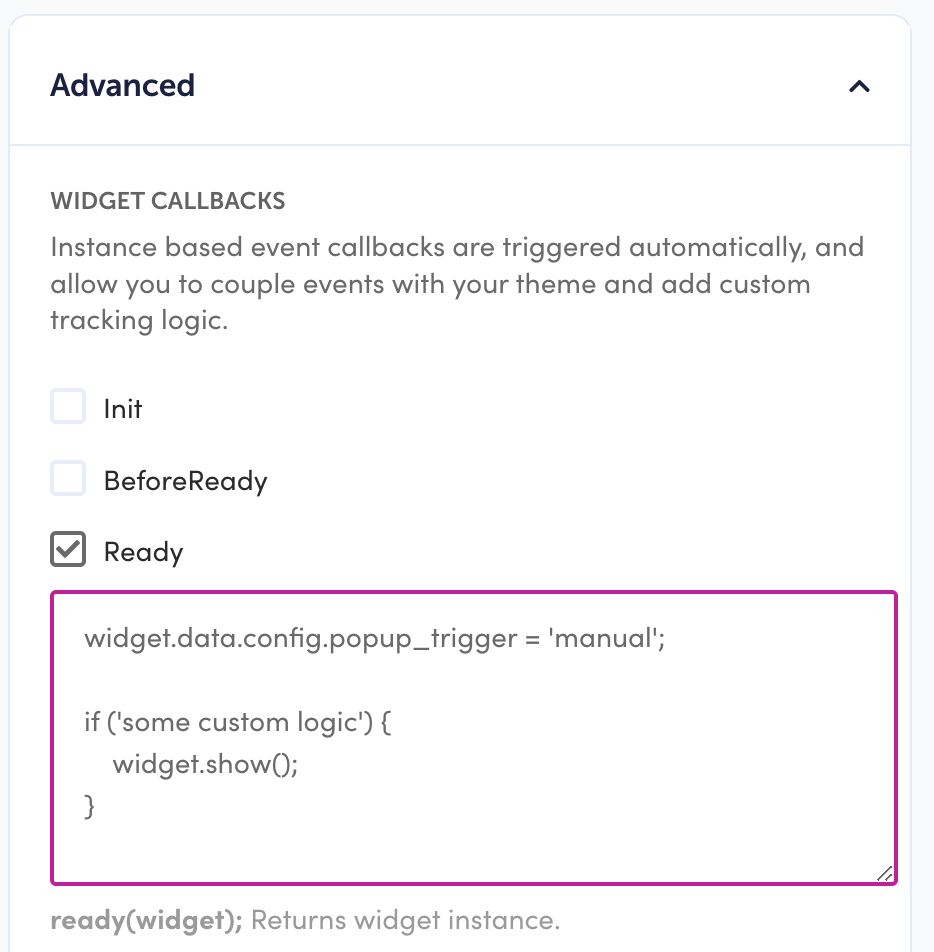
You may want a popup widget to display according to some custom logic that is not available by using the connected Data Source for that widget. This could be used in the Ready callback
In this example we are manipulating the popup trigger to "manual" which means that the popup will only show by running the widget.show(); method. Where, typically the popup widget would show according the the rules of the connected Data Source.
Popupwidget.data.config.popup_trigger = 'manual';
if ('some custom logic') {
widget.show();
}
---
title: Settings
excerpt: Configure widget layout, placement, discounts, and integrations
deprecated: false
hidden: false
metadata:
title: ''
description: ''
robots: index
next:
description: ''
---
Widget settings can be configured via the user interface on all widget editor pages. Additional logic can be added to dynamically change widget settings in the Advanced options of the widget editor or via widget event listeners. In the Advanced settings you are given callbacks for the lifecycle of the widget. (i.e. Init, Ready, Add, ProductsChange, ect.) where you are typically give the instance of that widget and sometimes the products that it is displaying.
Here we look over most of the settings and where they live within the Rebuy object.
All the settings below are as if there is a reference to a specific widget such as the snippet below. Or, if using the Advanced callbacks and the widget instance is passed into the callback such as the image below.
```javascript title="Widget instance"
const widget = window.Rebuy.widgets.find((w) => w.id === "1234");
```

## General
In the general setting you can define what type of product should be returned (onetime, subscription or both) as well as action redirects.
```javascript title="Redirects"
widget.data.settings.close_redirect;
widget.data.settings.decline_redirect;
widget.data.settings.redirect;
widget.data.settings.remove_redirect;
widget.data.settings.show_continue_button;
```
## Recommended Products
This is where you can select the data source (rules as to why certain products are displayed according to input criteria) that will be connected to this widget. You also have access to the endpoint information returned from the API request if you need to add additional logic according to specific rules. You can also return product metafields and variant metafields. These will be returned with the product object and can be accessed in a custom template, event callbacks or event listeners.

```javascript title="Data Source"
widget.data.metadata;
```
```javascript title="Metafields"
widget.data.products[index_of_product].metafields;
widget.data.products[index_of_product].variants[index_of_variant].metafields;
```
## Discount
Discounts are a visual only tool. This will need to be paired with a Shopify script to discount the products on the backend. These discounts can also be set on the data source for specific products according to specific rule matches.

```javascript title="Discount"
widget.data.settings.discount;
```
## Timer
A timer can be set to create a sense of urgency for customers to make sure they do not miss out on a special offer. Pairing this with the discount setting and the Limit Number of Views setting under Layout.

```javascript title="Timer"
widget.data.settings.timer;
```
## Layout


```javascript title="Layout"
widget.data.settings.display_type;
widget.data.settings.layout;
widget.data.settings.product_options;
widget.data.settings.quantity_inputs;
```
## Placement
The placement selectors use a CSS syntax to attach to an element. This will attach to the first instance of that element so it is best find an element that has a very specific class of id.

```javascript title="Placement"
widget.data.settings.placement;
```
## Images
Image height and width settings will add fixed height or width to the parent anchor element and dictate the size of all images.

```javascript title="Images"
widget.data.settings.images;
```
## Language
Language settings will vary depending on the widget type.


```javascript title="Language"
widget.data.settings.language;
```
## Styles
The Custom CSS text area allows you to add CSS as needed. This loads in a stylesheet when the widget loads and so make sure to use specific CSS selectors so that the CSS is not applied to other unintended elements.
!!! warning "Specify Selectors"
This loads a stylesheet to the page along with the widget. If you are not specific with the selectors than other elements on the page may be affected. Also, make sure to use valid CSS or else this will error.

```css
#rebuy-widget-12345 .super-title {
    color: "#000";
    font-size: 20px;
    letter-spacing: 2px;
}
```
## Integrations
Enabling these integrations is a two part step. First, is to navigate to the Integrations tab from the left hand menu. Once this has been done then you will need to select that integration on each widget that you would like to show product reviews for.

```javascript title="Integrations"
widget.data.settings.integrations;
```
## Advanced
In the advanced options you are given access to the widget instance throughout the widget lifecycle. Some of the callbacks also pass in the products array or item added to the cart. This can be extremely powerful when needing to add custom logic and change widget settings on the fly.

Widget tracking will add product properties to the product object. We use these properties in order to track sales contributed by these widgets, auto remove items for Gift With Purchase type widgets along with other subtle functionality of the widgets.

You can access all of the widget settings and information directly from the widget instance that is passed into the callback.
```javascript title="Settings"
widget.data.settings;
```
## Use Case
You may want a popup widget to display according to some custom logic that is not available by using the connected Data Source for that widget. This could be used in the Ready callback
In this example we are manipulating the popup trigger to "manual" which means that the popup will only show by running the `widget.show();` method. Where, typically the popup widget would show according the the rules of the connected Data Source.
```javascript title="Popup"
widget.data.config.popup_trigger = 'manual';

if ('some custom logic') {
    widget.show();
}
```
