Settings
The Smart Cart settings page can be found on the left hand navigation bar by clicking on "Smart Cart". Below is a list of all of the available settings and short descriptions. These settings can all be manipulated on the fly via the Rebuy object. In order to view the settings object on a merchants site you can run window.Rebuy.SmartCart.settings in the console. Adjusting these settings with JavaScript and the Smart Cart or Cart events, developers are able to provide amazing functionality beyond the standard settings available in the app.
const SmartCart = window.Rebuy.SmartCart;
Advanced Settings Callbacks
At the bottom we have our advanced setting which contain JavaScript callbacks for various actions of the Smart Cart. Event listeners for other Rebuy events can be added into these callbacks as you will see in the example.
Live Mode
When live mode is enabled this means that the Smart Cart will be live on the merchants site and running as the cart drawer solution for that site. When live mode is not enabled, this means that the Smart Cart can be viewed in Rebuys preview mode. Preview mode can be turned on by clicking the "Preview" link which will open the merchants site in Rebuy's preview mode. You will see a flag across the bottom of the site to notify you that you are now in preview mode.

SmartCart.settings.preview_mode;
Announcement Bar
The announcement bar will display messages at the top of the Smart Cart. If there are multiple messages they will rotate through a carousel. This carousel is powered by Flickity.js.
SmartCart.settings.announcement_bar;
Multi-Tier Progress Bar
The Multi-Tier Progress Bar is a versatile way to incentivize customers to increase their order size. This new setting will replace the previously used Free Shipping bar setting. Up to 4 Tiers can be added to allow customers to unlock Free Products or Free Shipping at certain cart subtotals.
Set Countries (optional)\
Merchants can add two-character country codes to show the Progress Bar only in certain countries. This setting can also be used to create multiple bars (up to 3).
There are two available layouts for displaying free products in the Smart Cart - in-line with the Shipping Bar, or below the cart line items.
Free Product Tiers\
The Free Product tier enables a product (or specific product variants) to be used as a Free Product once the customer reaches a certain cart subtotal. There are also feedback labels that can be customized as needed.
Free Shipping Tier\
The Free Shipping tier uses a similar configuration to the previous Free Shipping Bar. Merchants can configure the Free Shipping to be unlocked using a Minimum Price, multiple different prices (using Presentment Currencies), or using a Subscription Product. There are also feedback labels that can be customized as needed.
Updates from the Free Shipping Bar\
If you have a custom solution that interacted with the previous Free Shipping Bar, you may need to make adjustments to your code.
The previous Free Shipping settings were accessed using Rebuy.SmartCart.settings.free_shipping, but the Progress Bar settings will be accessible via Rebuy.SmartCart.progressBar.
If you used custom code to check for the Free Shipping minimum price, you would need to adjust the code to look for the Free Shipping tier minimum instead:
// how to access a free shipping tier in the Progress Bar
const freeShippingTier = Rebuy.SmartCart.progressBar.tiers.find(tier => tier.type === 'shipping');

// how to access the free shipping minimum
freeShippingTier.minimum;
If you are using a Custom Smart Cart Template, you should also make sure you update the base template to include the Progress Bar.
Free Shipping Bar (Legacy)
The Free Shipping bar was a visual display that notified customers how far they were away from free shipping.
This can be adjusted dynamically in order to add multiple rules as shown in the example below. When wrapped in the "rebuy:cart.change" event we are able to listen for changes to the cart and subtotal to change to a new threshold and push customers to spend more to get a free gift. In this case we need to use the raw endraw tags so that the double curly braces do not get parsed via liquid.
document.addEventListener('rebuy:cart.change', function(event){
  const settings = window.Rebuy.SmartCart.settings;
    const cartTotal = window.Rebuy.Cart.cart.total_price;
    if (cartTotal >= 5000) {
        settings.free_shipping.minimum = 7000;
        settings.language.free_shipping_remaining = "Free shipping acheived! Spend {% raw %}{{remaining_amount}}{% endraw %} more for a <b>FREE GIFT!</b>";
    } else {
        settings.free_shipping.minimum = 5000;
        settings.language.free_shipping_remaining = "You are {% raw %}{{remaining_amount}}{% endraw %}away from <b>FREE SHIPPING!</b>";
    }
});
SmartCart.settings.free_shipping;
Switch to Subscription
The Switch to Subscription setting enables a button and select dropdown group. If a customer adds a onetime item that has a subscription option then they can click on the switch to subscription button to "Upgrade" to subscription. Then they can adjust the shipping intervals via the dropdown.
SmartCart.settings.switch_to_subscription;
This makes it very easy to add cross selling ability to the Smart Cart. You can just click on the "Create Cart Flyout Widget" button and enable that widget. Clicking on the widget will take you to the settings page for that widget where merchants can customize the look and adjust the data source.
SmartCart.settings.cross_sells;
Language
The main point to note here is the ability to add a link in the empty cart message. Typically merchants will use this to navigate to a collections page of popular products.
SmartCart.settings.language;
Discount
This feature allows customers the ability to add a Shopify discount code and see the discount that they would receive upon checkout. This feature makes a request to checkout in order to confirm the validity of the discount code as well as the discount associated with that code.
SmartCart.settings.discount;
The button selections at the bottom of the Smart Cart. Navigate straight to checkout, go to the cart page or continue shopping which closes the Smart Cart.
SmartCart.settings.checkout_button;SmartCart.settings.language.checkout_label;
SmartCart.settings.view_cart_button;
SmartCart.settings.language.view_cart_label;
SmartCart.settings.language.continue_shopping_label;
Disable Cart Page
This setting makes it so that cart page cannot be accessed. If this setting is enabled, when Rebuy loads in the user will instead be redirected to the home page and the Smart Cart will open for them to now adjust or view their cart items as needed.

SmartCart.settings.disable_cart_page;
Payment Installments
If the merchant uses a payment provider like AfterPay they can display a message of how much the purchase would cost with X amount of payments. The terms URL is a link that is used to allow the customer to check on the terms of using this payment provider.
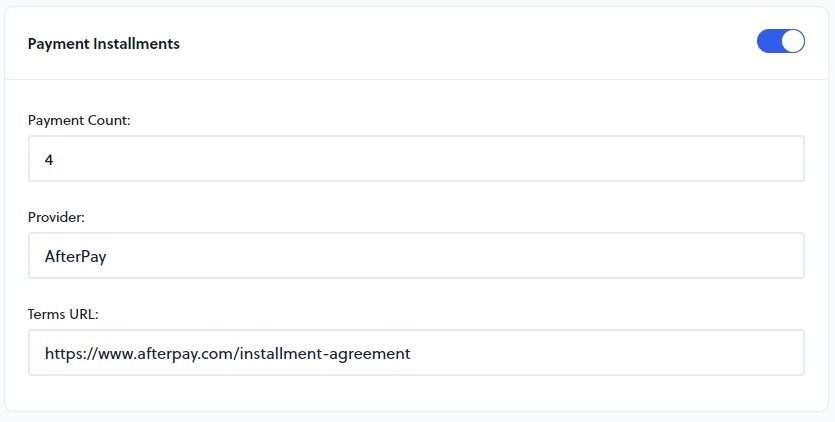
SmartCart.settings.installments;
Theme Selectors
Theme selectors accept CSS style notation in order to update the cart quantity or subtotal whenever the cart changes so that the stores theme and the Smart Cart are in sync.
Avoid Broad Selectors
Make sure that you target a specific class of id here as this uses a querySelectorAll("p"); type of functionality and will manipulate all elements. (i.e. if you are to simple place a "p" in one of these fields then all "p"/paragraph tags will be adjusted on cart change)
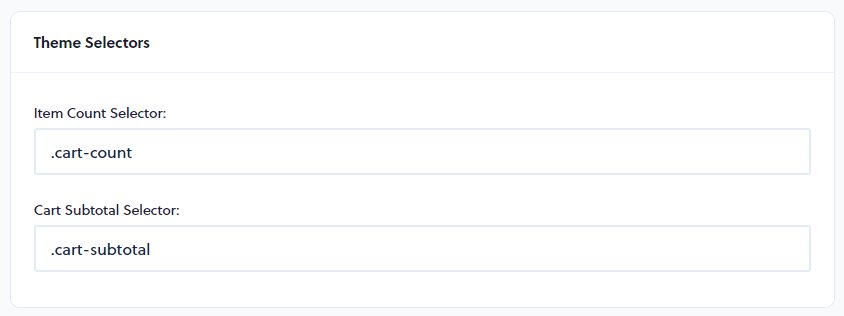
SmartCart.settings.selectors;
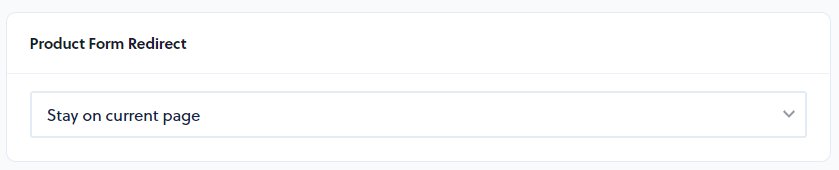
SmartCart.settings.product_form_redirect;
Terms and Conditions
When enabled this will provide a checkbox this the terms text in which customers have to accept before they are allowed to continue to checkout.

SmartCart.settings.terms;
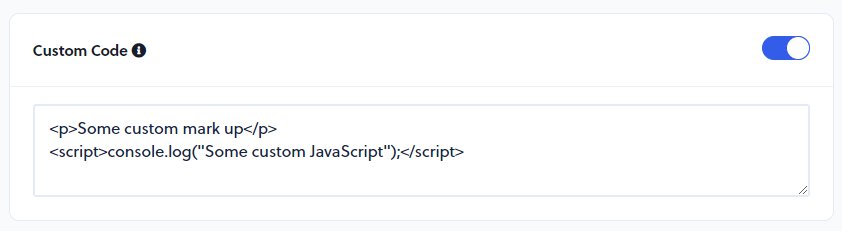
Custom Code
This text input accepts custom HTML which can be used to create one off Smart Cart apps. Script tags can also be added in to provide functionality via JavaScript.
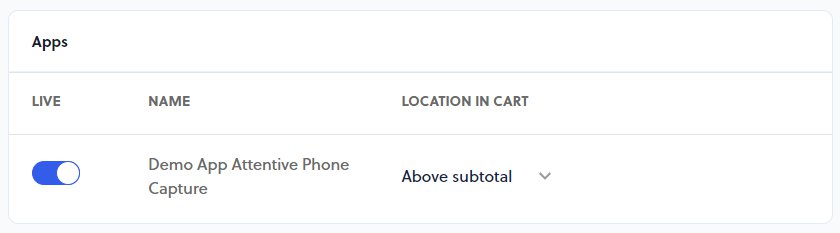
Apps
Advanced
The advanced settings contains Smart Cart attribution tracking which tracks all products that have been purchased through the Smart Cart. When disabled Rebuy will not track products that have been managed by the Smart Cart.
The Event Callbacks give you the ability to add custom JavaScript through the lifecycle of the Smart Cart and pass in the Smart Cart instance where you can adjust settings dynamically and according to custom logic as desired.
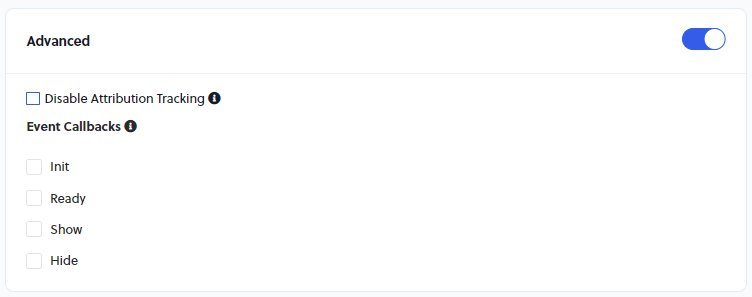
These callbacks can be extremely helpful to provide a custom experience. In the example below, we are adding an event listener for Rebuy Cart Change within the Ready callback to either display or hide the Smart Cart announcement bar.
Ready Callbackconst shouldDisplayAnnouncement = () => {
const Cart = window.Rebuy.Cart
const announcementBar = document.querySelector("#rebuy-smart-cart-announcement-bar");
console.log('rebuy:cart.change event', Cart);
if (Cart.cart.item_count > 1) {
announcementBar.style.visibility = "hidden";
} else {
announcementBar.style.visibility = "visible";
}
}
document.addEventListener('rebuy:cart.change', function (event) {
shouldDisplayAnnouncement();
});
shouldDisplayAnnouncement();

---
title: Settings
excerpt: Configure cart drawer appearance, upsell widgets, and checkout behavior
deprecated: false
hidden: false
metadata:
title: ''
description: ''
robots: index
next:
description: ''
---
The Smart Cart settings page can be found on the left hand navigation bar by clicking on "Smart Cart". Below is a list of all of the available settings and short descriptions. These settings can all be manipulated on the fly via the Rebuy object. In order to view the settings object on a merchants site you can run window\.Rebuy.SmartCart.settings in the console. Adjusting these settings with JavaScript and the Smart Cart or Cart events, developers are able to provide amazing functionality beyond the standard settings available in the app.
```javascript
const SmartCart = window.Rebuy.SmartCart;
```
!!! success "Advanced Settings Callbacks"
At the bottom we have our advanced setting which contain JavaScript callbacks for various actions of the Smart Cart. Event listeners for other Rebuy events can be added into these callbacks as you will see in the example.
## Live Mode
When live mode is enabled this means that the Smart Cart will be live on the merchants site and running as the cart drawer solution for that site. When live mode is not enabled, this means that the Smart Cart can be viewed in Rebuys preview mode. Preview mode can be turned on by clicking the "Preview" link which will open the merchants site in Rebuy's preview mode. You will see a flag across the bottom of the site to notify you that you are now in preview mode.

```javascript
SmartCart.settings.preview_mode;
```
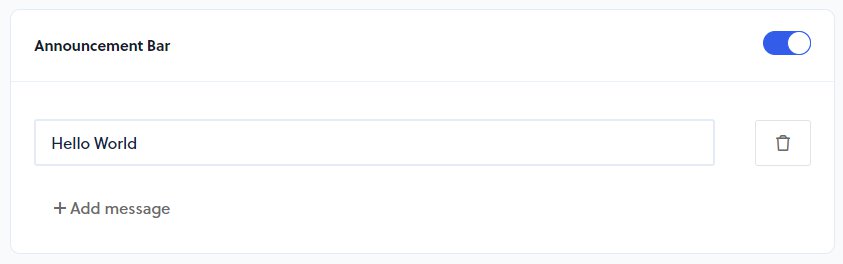
## Announcement Bar
The announcement bar will display messages at the top of the Smart Cart. If there are multiple messages they will rotate through a carousel. This carousel is powered by Flickity.js.

```javascript
SmartCart.settings.announcement_bar;
```
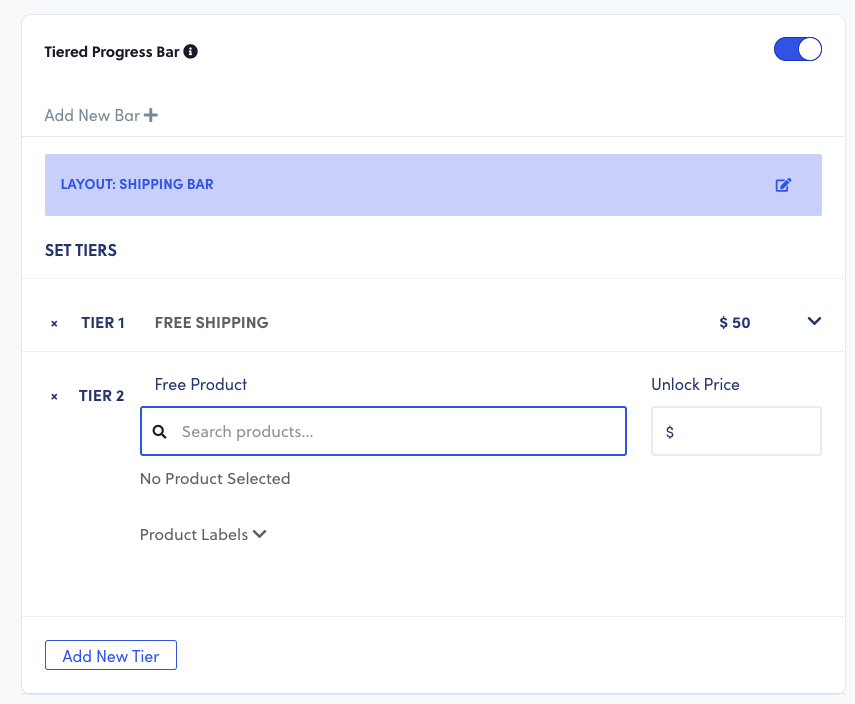
## Multi-Tier Progress Bar
The Multi-Tier Progress Bar is a versatile way to incentivize customers to increase their order size. This new setting will replace the previously used Free Shipping bar setting. Up to 4 Tiers can be added to allow customers to unlock Free Products or Free Shipping at certain cart subtotals.
**Set Countries** (optional)\
Merchants can add two-character country codes to show the Progress Bar only in certain countries. This setting can also be used to create multiple bars (up to 3).
There are two available layouts for displaying free products in the Smart Cart - in-line with the Shipping Bar, or below the cart line items.
**Free Product Tiers**\
The Free Product tier enables a product (or specific product variants) to be used as a Free Product once the customer reaches a certain cart subtotal. There are also feedback labels that can be customized as needed.
**Free Shipping Tier**\
The Free Shipping tier uses a similar configuration to the previous Free Shipping Bar. Merchants can configure the Free Shipping to be unlocked using a Minimum Price, multiple different prices (using Presentment Currencies), or using a Subscription Product. There are also feedback labels that can be customized as needed.

**Updates from the Free Shipping Bar**\
If you have a custom solution that interacted with the previous Free Shipping Bar, you may need to make adjustments to your code.
The previous Free Shipping settings were accessed using `Rebuy.SmartCart.settings.free_shipping`, but the Progress Bar settings will be accessible via `Rebuy.SmartCart.progressBar`.
If you used custom code to check for the Free Shipping minimum price, you would need to adjust the code to look for the Free Shipping *tier* minimum instead:
```javascript
// how to access a free shipping tier in the Progress Bar
const freeShippingTier = Rebuy.SmartCart.progressBar.tiers.find(tier => tier.type === 'shipping');
// how to access the free shipping minimum
freeShippingTier.minimum;
```
If you are using a **[Custom Smart Cart Template](smart-cart-custom-template.md)**, you should also make sure you update the base template to include the Progress Bar.
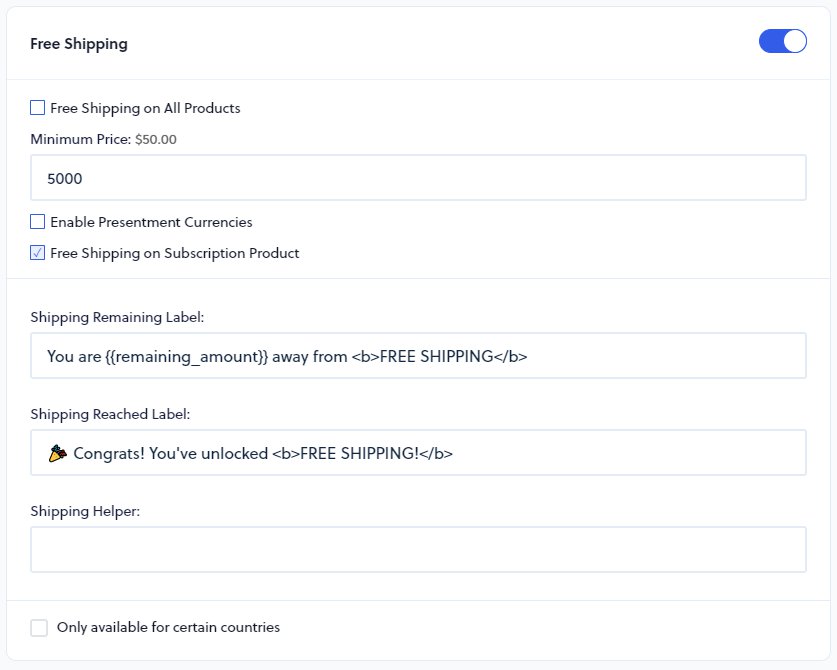
## Free Shipping Bar (Legacy)
The Free Shipping bar was a visual display that notified customers how far they were away from free shipping.

This can be adjusted dynamically in order to add multiple rules as shown in the example below. When wrapped in the "rebuy:cart.change" event we are able to listen for changes to the cart and subtotal to change to a new threshold and push customers to spend more to get a free gift. In this case we need to use the raw endraw tags so that the double curly braces do not get parsed via liquid.
```javascript
document.addEventListener('rebuy:cart.change', function(event){
const settings = window.Rebuy.SmartCart.settings;
const cartTotal = window.Rebuy.Cart.cart.total_price;
if (cartTotal >= 5000) {
settings.free_shipping.minimum = 7000;
settings.language.free_shipping_remaining = "Free shipping acheived! Spend {% raw %}{{remaining_amount}}{% endraw %} more for a <b>FREE GIFT!</b>";
} else {
settings.free_shipping.minimum = 5000;
settings.language.free_shipping_remaining = "You are {% raw %}{{remaining_amount}}{% endraw %}away from <b>FREE SHIPPING!</b>";
}
});
```
```javascript
SmartCart.settings.free_shipping;
```
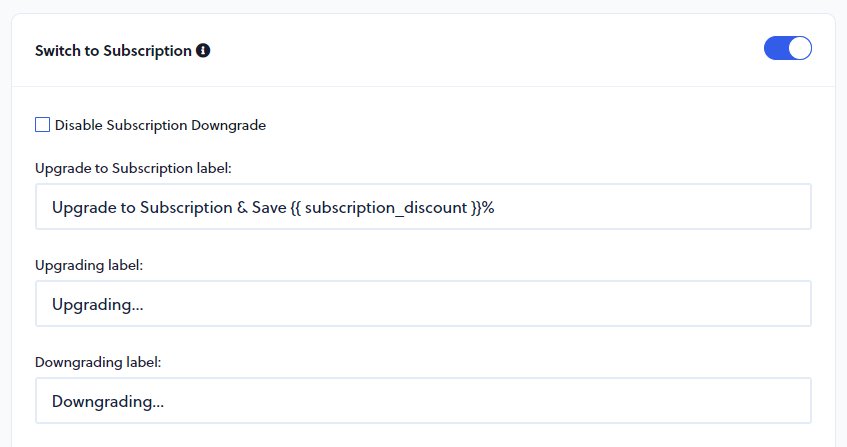
## Switch to Subscription
The Switch to Subscription setting enables a button and select dropdown group. If a customer adds a onetime item that has a subscription option then they can click on the switch to subscription button to "Upgrade" to subscription. Then they can adjust the shipping intervals via the dropdown.

```javascript
SmartCart.settings.switch_to_subscription;
```
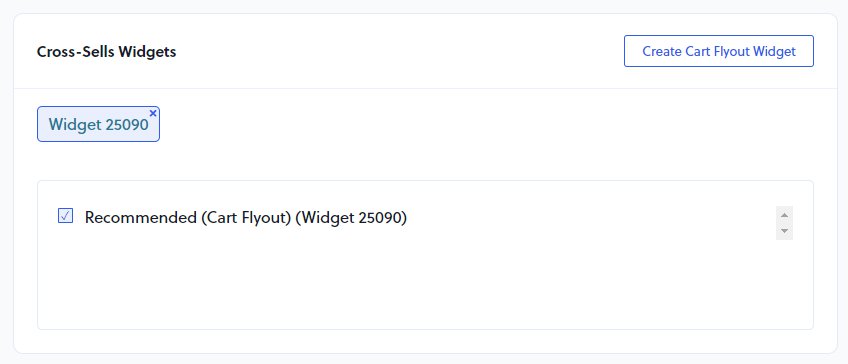
## Cart Cross-Sells Widgets
This makes it very easy to add cross selling ability to the Smart Cart. You can just click on the "Create Cart Flyout Widget" button and enable that widget. Clicking on the widget will take you to the settings page for that widget where merchants can customize the look and adjust the data source.

```javascript
SmartCart.settings.cross_sells;
```
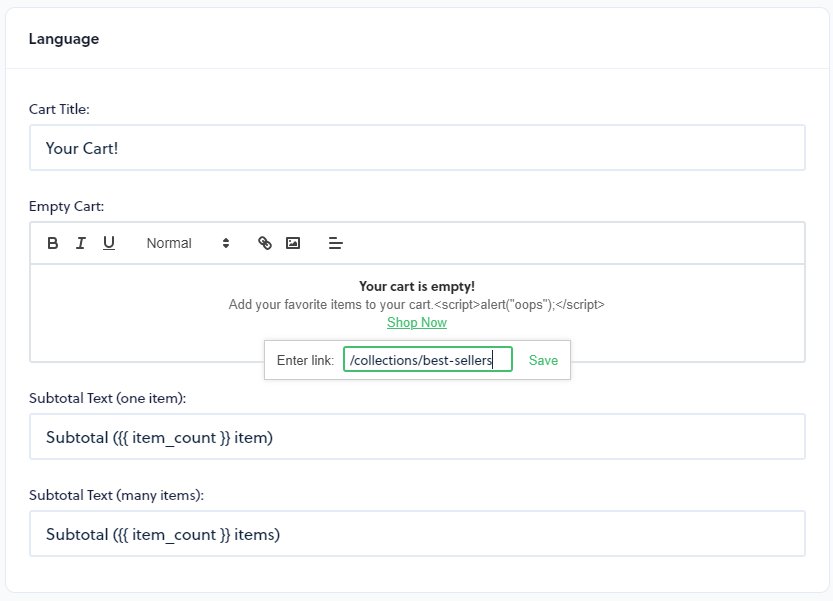
## Language
The main point to note here is the ability to add a link in the empty cart message. Typically merchants will use this to navigate to a collections page of popular products.

```javascript
SmartCart.settings.language;
```
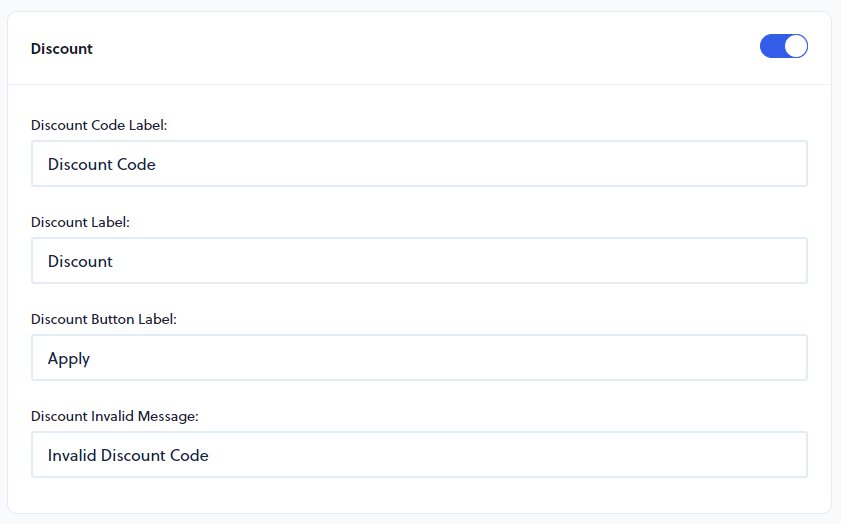
## Discount
This feature allows customers the ability to add a Shopify discount code and see the discount that they would receive upon checkout. This feature makes a request to checkout in order to confirm the validity of the discount code as well as the discount associated with that code.

```javascript
SmartCart.settings.discount;
```
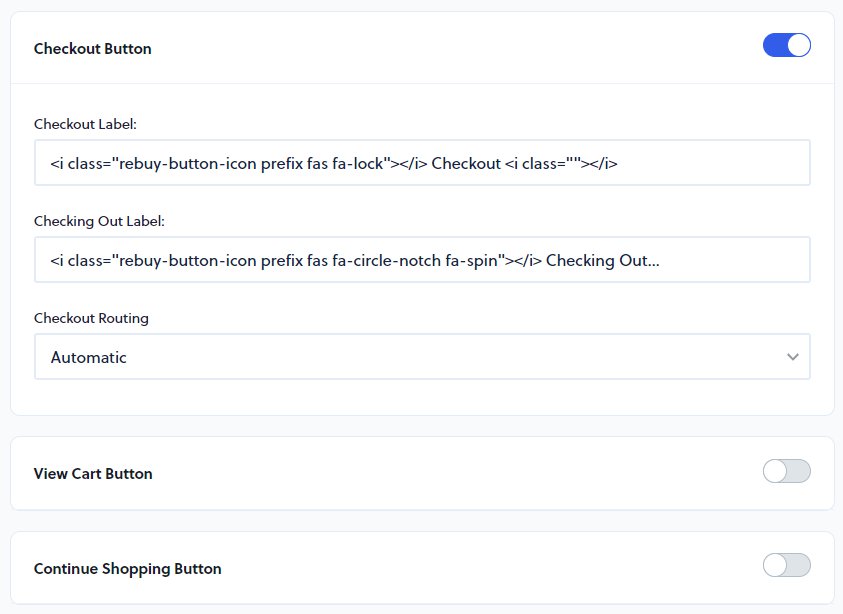
## Checkout, View Cart and Continue Shopping buttons
The button selections at the bottom of the Smart Cart. Navigate straight to checkout, go to the cart page or continue shopping which closes the Smart Cart.

```javascript title="SmartCart.settings.checkout_button;"
SmartCart.settings.language.checkout_label;

SmartCart.settings.view_cart_button;
SmartCart.settings.language.view_cart_label;

SmartCart.settings.language.continue_shopping_label;
```
## Disable Cart Page
This setting makes it so that cart page cannot be accessed. If this setting is enabled, when Rebuy loads in the user will instead be redirected to the home page and the Smart Cart will open for them to now adjust or view their cart items as needed.

```javascript
SmartCart.settings.disable_cart_page;
```
## Payment Installments
If the merchant uses a payment provider like AfterPay they can display a message of how much the purchase would cost with X amount of payments. The terms URL is a link that is used to allow the customer to check on the terms of using this payment provider.

```javascript
SmartCart.settings.installments;
```
## Theme Selectors
Theme selectors accept CSS style notation in order to update the cart quantity or subtotal whenever the cart changes so that the stores theme and the Smart Cart are in sync.
!!! warning "Avoid Broad Selectors"
Make sure that you target a specific class of id here as this uses a querySelectorAll("p"); type of functionality and will manipulate all elements. (i.e. if you are to simple place a "p" in one of these fields then all "p"/paragraph tags will be adjusted on cart change)

```javascript
SmartCart.settings.selectors;
```
## Product Form Redirect

```javascript
SmartCart.settings.product_form_redirect;
```
## Terms and Conditions
When enabled this will provide a checkbox this the terms text in which customers have to accept before they are allowed to continue to checkout.

```javascript
SmartCart.settings.terms;
```
## Custom Code
This text input accepts custom HTML which can be used to create one off Smart Cart apps. Script tags can also be added in to provide functionality via JavaScript.

## Apps

## Advanced
The advanced settings contains Smart Cart attribution tracking which tracks all products that have been purchased through the Smart Cart. When disabled Rebuy will not track products that have been managed by the Smart Cart.
The Event Callbacks give you the ability to add custom JavaScript through the lifecycle of the Smart Cart and pass in the Smart Cart instance where you can adjust settings dynamically and according to custom logic as desired.

These callbacks can be extremely helpful to provide a custom experience. In the example below, we are adding an event listener for Rebuy Cart Change within the Ready callback to either display or hide the Smart Cart announcement bar.
```javascript title="Ready Callback"
const shouldDisplayAnnouncement = () => {
  const Cart = window.Rebuy.Cart
  const announcementBar = document.querySelector("#rebuy-smart-cart-announcement-bar");
  console.log('rebuy:cart.change event', Cart);
  if (Cart.cart.item_count > 1) {
    announcementBar.style.visibility = "hidden";
  } else {
    announcementBar.style.visibility = "visible";
  }
}

document.addEventListener('rebuy:cart.change', function (event) {
    shouldDisplayAnnouncement();
});

shouldDisplayAnnouncement();
```
